A Little About Me

New York, New York
As a newly married woman, it has become my mission in life to learn how to cook. Gone are the days of picking up sushi and ordering curries. In order to jump-start my education, I enrolled in the Institute of Culinary Education's Fine Cooking I course where I learned the basics, from roasting to boiling to mousse-making (ok, maybe not that basic)! I've attempted to replicate some recipes - somewhat successfully- and create a few of my own. This blog is for friends and foodies and is intended to document my cooking adventures (and occasional fiascoes). Enjoy the pictures and bon appetite!

Sunday, April 11, 2010

Homemade Garlic Potato Salad


Ever since making my own mayonnaise last week, I've been on a bit of a mayo run lately. I can't help it! Making it yourself is not only satisfying, but more authentic and delicious than the jarred alternative. Mayo is very versatile. For this homemade potato salad recipe, I used garlic to give the mayo a wonderful, yet not-so-breath-friendly, flavor.

Ingredients
Bag of mixed small potatoes
A couple handfuls of button mushrooms
olive oil
watercress
mayo
garlic cloves

Start by preheating your oven to 350 degrees. Cut the potatoes in half and place on a baking sheet with the mushrooms. Drizzle with olive oil, sprinkle with salt and pepper and roast in the oven for about 45 minutes, or until you can easily prick the potato with a fork.

While the potatoes, are roasting, mince your garlic cloves, sprinkle with salt and use the edge of your knife blade to press into a paste. Add the garlic to your mayo and stir. If you're looking for an easier alternative, just mix some store-bought garlic paste into the mayo until it tastes garlicky enough for your liking.

Once the potatoes and mushrooms have been removed from the oven and cooled, combine them with some of the garlic mayo and a handful of watercress.

Mix and serve! This salad goes great alongside a grilled steak or even with the curry chicken salad sandwich I previously posted about!


Friday, April 9, 2010

Curry Chicken Salad on Pumpernickle


You may notice a recurring theme in my posts; curry as a primary flavor. Still, there's always room for one more recipe! Earlier this week, I decided to make my husband lunch instead of dinner. I already had a small tub of mayonnaise (which I show how to make in the previous post) on hand and two chicken breasts that I had bought as backups in case the miso glazed cod turned out inedible. After buying some pumpernickel and arugula, I was ready to start sandwich-making!

Ingredients
2 slices pumpernickle bread
handful arugula
2 chicken breasts
vegetable broth or water
mayonnaise
raisins
minced red onions
curry powder
cayenne pepper
garlic powder
garam masala

The first step in preparing the curry chicken salad is cooking the chicken. I decided to poach my breasts since I had never poached anything before. To do this, place the breasts in a saucepan, pour in enough water or vegetable broth to cover them, and bring the liquid to a boil. Let it boil for two minutes and then turn off the heat. Leave the breasts in the water for 20 minutes and then they are ready to use!

Cut the chicken into chunks and add some mayo (quantity depends on how much you like). Throw in some raisins and red onions and season with the spices listed above until the taste is to your liking. I like things spicy, but you might not.

Finally, place the salad and arugula between the bread and enjoy!


Thursday, April 8, 2010

How to Make Mayo

Although it's easier to pick up a jar at the supermarket, mayonaise is not as hard as you think it is to make. All you need are three simple ingredients that you most likely already have in the house and a food processor -- or a very strong arm capable of a lot of mixing.

Ingredients
1 egg yolk
1 cup of canola oil
2 tbsp lemon juice

In a food processor, combine one egg yolk (which contains lecithin, a natural emulsifier, that thickens sauces and binds ingredients) with 2 tbsp of lemon juice. Add the oil in a slow, steady stream, as the ingredients continue to mix. When all the oil has been incorporated, the mayo will be light and fluffy and ready for use!

Tuesday, April 6, 2010

Miso Glazed Bass over Edamame Puree with Ginger/Garlic Greens

Although I've made a lot of Asian dishes in the past few months, I've never once used fish. Don't ask me why, but I think fish is just better when made in restaurants. However, since I promised to make my fish-loving parents some dinner the next time they're in New York, I figured now would be a good time to start perfecting my skills :)

Edamame Puree Ingredients
1 cup edamame beans
1 tsp wasabi powder
1/4 tsp salt
juice of half a lemon
3 tbsp canola oil

I decided to make an edamame puree because any time you order fish in a restaurant, it always comes on top of or surrounded by some kind of sauce or puree. Let's be honest, it provides a little pizzaz.

Start by throwing all the above ingredients into a food processor and puree until smooth. You might want to taste it as you go along, adding more of the ingredients as you deem fit -- my husband loved the hint of wasabi and said he would have liked to have tasted more.


Next up, some greens (because no meal is complete without some veggies). I opted for bok choy and snap peas since that's what looked good in the Farmer's Market, but you can really go with any combination. If you're going to use bok choy like I did, keep in mind the leaves shrink when cooked and one bunch doesn't amount to much.

Ingredients
4 bunches bok choy
2 handful snap peas
2 minced garlic cloves
1 tbsp minced ginger
2 tbsp reduced sodium soy sauce
2 tbsp olive oil
sesame seeds

Start by heating some olive oil in your pan. Add the ginger and garlic and let brown for a couple minutes. Next, add your bok choy, snap peas and soy sauce. Stir to coat your vegetables.

Let cook for 3-5 minutes, or until greens are wilted. Season with salt and pepper as needed and top with a sprinkle of sesame seeds.

Finally, it's time to prepare the fish and the miso glaze which will give it a nice asian flavor.

Ingredients for Miso Glaze
(* This recipe is for 6 filets: adjust measurements according to your quantity)

6 black cod fillets (striped bass, regular cod...)
1/3 cup low-sodium blond of white miso (see photo below)
1/4 cup dark brown sugar
1 tsp sesame oil
2 tbsp mirin (Japanese cooking wine)

To make the glaze that will go on the cod, combine the miso, brown sugar, sesame oil and mirin.
          Stir until the sugar has dissolved.

          Wash and pat dry your fish. Brush the fish with the glaze and place it under the broiler for 3-4 minutes. Remove the fish from the oven, brush with more glaze and lower the oven to 375 degrees. Cook for another 5-10 minutes. If your fish is really thick, it may have to stay in longer, like mine did. I ended up cooking my fillet for about 20 minutes because it was huge and needed some more time in the oven.

          Place the fish on top of the edamame puree and serve alongside veggies!

          And there you have it! My first (and not last) attempt at making some fish.

          Sunday, April 4, 2010

          Mmm...Mmm...Matzah Brie

          I just returned from a wonderful trip to Florida where I celebrated Passover with the entire (and enormous) Kessner clan. While down there, I asked my mother-in-law for a step-by-step tutorial in making her much loved matzah brie. The recipe was passed down from her mother (whose mother passed it down to her) and now it was my turn to learn. There are countless techniques for making this Passover breakfast item, but only one that my husband grew up loving.

          Ingredients
          5 slices of matzah
          5 large eggs
          canola oil
          salt and pepper

          Start by breaking the matzah into a bowl.

          Fill the bowl with warm water, until the matzah is covered. Quickly drain out the water using a plate.

          Whisk your eggs and season with salt and pepper.
          For every one piece of matzah, you will need one corresponding egg. Since this recipe calls for five pieces, use five eggs.

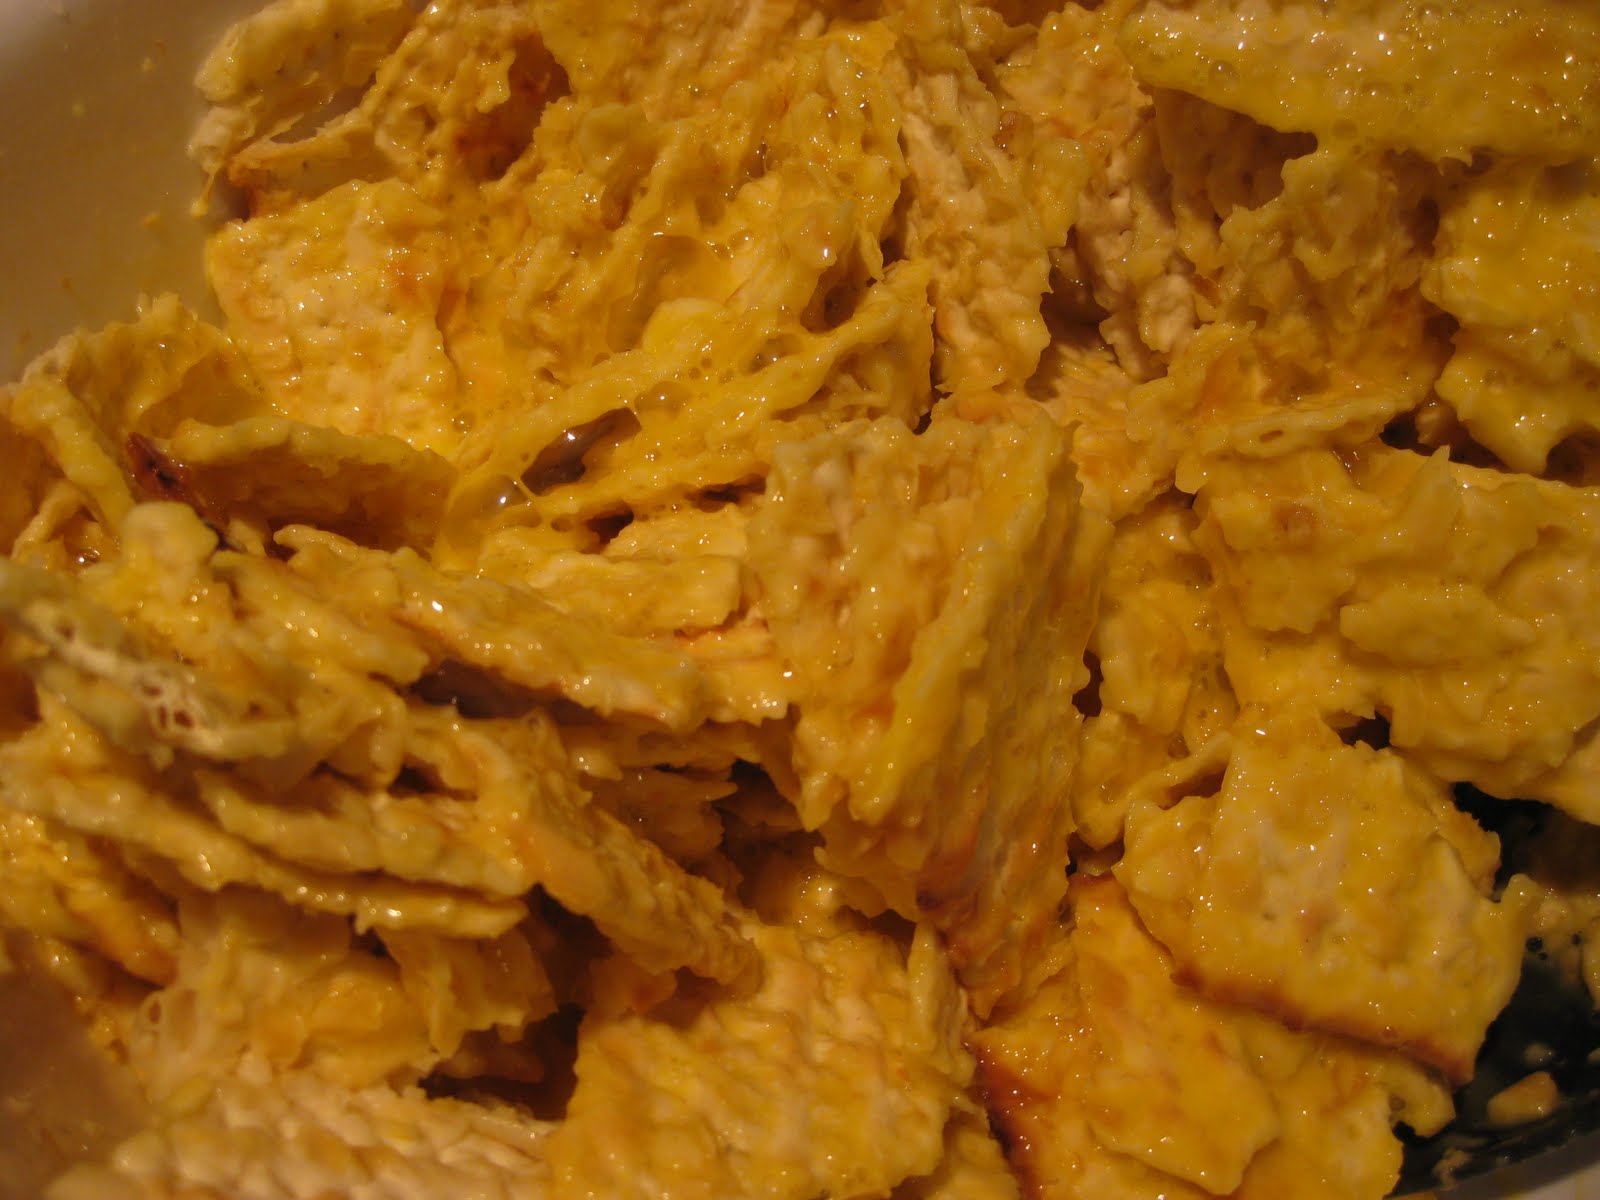
          Pour the beaten eggs over the softened matzah and mix until all the pieces are coated.

          Heat some canola oil in a pan and add the egg and matzah mixture. Cook, stirring constantly. According to my mother-in-law, "You'll know it's done when all the matzah pieces separate easily."

          Serve with syrup and a sprinkle of sugar!

          Ooey Gooey Grilled Cheese

          Grilled cheese is not only delicious, but a very a nostalgic snack for a lot of people. I remember eating them frequently, usually dipped in lots of ketchup (strange food habit of mine) or alongside some tomato soup at summer camp.

          Here, I've updated the classic grilled cheese I used to eat as a child by using whole wheat bread instead of white, swiss cheese and thinly sliced tomatoes (because you need a little something healthy between all that butter and cheese).

          Ingredients
          2 slices whole wheat bread
          2 slices swiss cheese
          2-3 tomato slices
          1/2 tbsp butter

          Place a slice of swiss cheese on each slice of bread and put in your toaster oven on a low setting. Wait for the cheese to bubble slightly and your bread to crisp just a bit. Next, add the tomato slices to each half, close the sandwich and spread butter on both outer sides. Heat a small pan on low heat. Place your sandwich and let brown (make sure butter does not start to burn). Flip and repeat.

          Tuesday, March 23, 2010

          Not-In-a-Hurry-Curry

          It's kind of funny...... in learning how to cook, I've learned how to make all the things my husband likes to eat. Coincidentally, he has a thing for ethnic food (curries, stir fries, etc......) So, while I have yet to master cooking a piece of salmon, I've managed to create quite a delicious chicken curry. While the basis of this recipe comes from my sister-in-law, I have altered the ingredients to fine tune the recipe into a flavorful dish with a kick!

          Ingredients
          3 boneless chicken breasts cut into chunks
          1 sliced white onion
          1 1/2 red peppers
          1 pint cherry tomatoes
          3 sliced carrots
          1 can garbanzo beans
          1 can lite coconut milk
          1 carton vegetable or chicken broth
          1 tbsp garam masala
          1 tbsp paprika
          1 tbsp cumin
          1 tsp cayenne papper
          2 tbps curry power
          1 tsp salt
          1 tsp pepper
          olive oil
          Jasmine Rice

          Start by cooking the chicken chunks in a hot pan with some olive oil. Set aside. (The chicken will be added to the curry pot when the curry has been on the stove for a while. Adding the chicken later prevents overcooking -- you want chicken chunks, not shreds!)

          Heat up a few tbsps of olive oil in a large pot and throw in the sliced onions. After a few minutes, toss in the carrots and peppers.

          While the vegetables are cooking in the pot, mix in the spices. I recommend starting with small amounts and adding as you go. You can always add more spice but it's not so easy to get rid of that spiciness!

          Next, add the garbanzo beans and cherry tomatoes. The tomatoes should go in whole - they will burst while cooking, providing nice color and tomato juices!

          Add the can of lite coconut milk. Fill up the can with vegetable or chicken broth and add. Repeat, adding another can of stock.

          Bring the mixture to a boil over a hot flame, then reduce and let it simmer on low for 25 minutes. Add the cooked chicken and let simmer for another half an hour. Check on the dish and, if the liquid reduces, add in about another half cup of stock.

          While the curry cools, prepare the ric which it will be served over.

          I can't share a recipe for making rice because I use the rice cooker that my mother bought me for my bridal shower. As I've mentioned before, it makes life a lot easier. (I once walked to a chinese restaurant and ordered a side of white rice after burning three batches of my own).

          In the end, you'll have an authentic curry and something a little more exciting than lasagna to 'wow' with.


          Sunday, March 21, 2010

          Garlic Bread; For When You Need Some Carbs on the Menu


          Garlic bread is a great start to any meal, Italian or other. Since I've been making a lot of soups and vegetable side dishes lately, I've needed a carb-centric item on the menu to help fill up my usually starving husband. The three things, besides a loaf of bread, that you'll need are olive oil, garlic paste and two cloves of finely minced garlic.

          Start by slicing your loaf in half. Drizzle bread with a healthy amount of olive oil, squeeze and lather some garlic paste onto both halves and spread on the minced garlic.

          Place one half of bread on top of the other and wrap the loaf in tin foil.


          Place in the oven and bake for 15 minutes at 400 degrees. Remove from oven, open the foil and separate the halves. Place back into oven and broil for a few minutes, or until you see the bread start to brown a bit.
          Remove and let cool before serving.


          Wednesday, March 17, 2010

          Carrot Ginger Soup

          Since summer is on the way , I've been feeling the need to make as many soups as possible before its too late! My husband LOVES fresh ginger, so what better soup to make than carrot ginger soup?!? This soup is so great because it's delicious, even without adding any heavy cream.

          • Ingredients
          • 1 diced medium red onion
          • 1-2 Tbsp olive oil
          • 4 Tbsp of minced fresh ginger
          • 2-3 cloves finely minced garlic
          • 1½ c. chopped carrots
          • 3 c. vegetable broth
          • salt and pepper to taste

          Heat the olive oil over medium heat.
          Add the onions and cook until soft, then add ginger and garlic and cook about 2-3 minutes.

          Add the carrots and vegetable broth.

          Bring to a boil, then reduce heat and simmer, covered, until carrots are very tender, about 20-30 minutes.

          Puree the soup in a blender.

          Serve when at the desired consistency and top with a few cooked carrots.


          Monday, March 15, 2010

          My First Time (Cooking Swiss Chard)

          I found myself in the Union Square Farmer's Market yesterday afternoon, looking for something new and green to make with dinner. Because it was a rainy day, there weren't many stands open for business. I did, however, manage to find one that caught my eye and was selling some beautiful red-stemmed swiss chard.
          Sauteed Swiss Chard with Onions

          Ingredients
          • 3 pound green Swiss chard (about 2 large bunches)
          • 2 tablespoons olive oil
          • 2 tablespoons unsalted butter
          • 2 medium onions, halved lengthwise and thinly sliced
          • 2 garlic cloves, finely chopped

          Start by cutting stems and center ribs from chard, discarding any tough portions, then cut stems and ribs crosswise into 2-inch pieces. Stack chard leaves and roll up lengthwise into cylinders. Cut cylinders to make 1-inch-wide strips.

          Next, heat up your oil and butter over medium heat. Add the garlic, onions, some salt and pepper, and cook until the onion begins to brown, about 8 minutes.

          Add the chard leaves in batches, stirring until they wilt before adding the next batch. Cook covered, stirring occasionally, until tender, around 5 minutes.