A Little About Me

New York, New York
As a newly married woman, it has become my mission in life to learn how to cook. Gone are the days of picking up sushi and ordering curries. In order to jump-start my education, I enrolled in the Institute of Culinary Education's Fine Cooking I course where I learned the basics, from roasting to boiling to mousse-making (ok, maybe not that basic)! I've attempted to replicate some recipes - somewhat successfully- and create a few of my own. This blog is for friends and foodies and is intended to document my cooking adventures (and occasional fiascoes). Enjoy the pictures and bon appetite!

Tuesday, December 6, 2011

Lemon Ricotta Cakesters

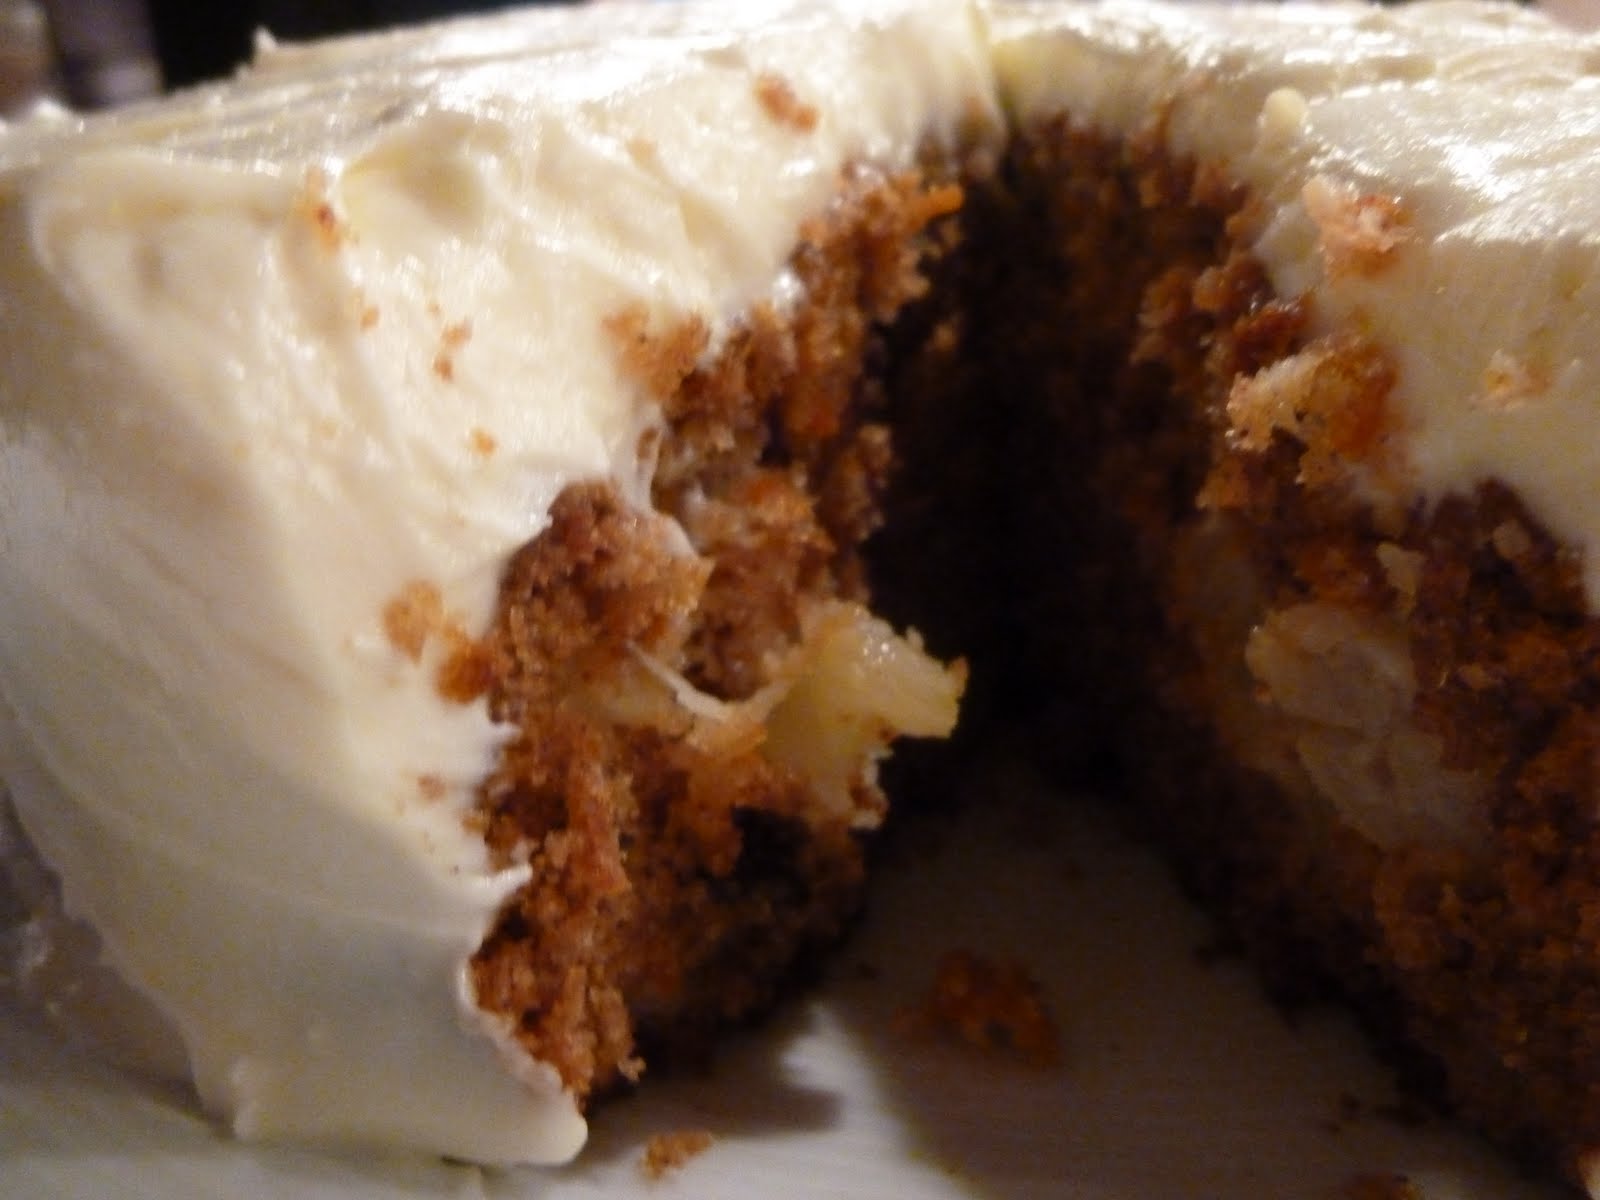
It seems I've been bitten by the baking bug lately! Since I usually send my husband lunch, it's nice to have the occasional home baked good to toss into the lunch bag! I was watching the Food Network recently and saw Giada whipping up a batch of these yummy looking lemon ricotta cookies, so I just had to try them! They tasted great but I was under the impression they'd be "cookies" whereas their softer texture made them a little more like cake than cookies. Either way, they were refreshingly unique and a nice change from the usual banana bread repertoire!

Cookie Ingredients
2 1/2 cups all-purpose flour
1 tsp baking powder
1 tsp salt
1 stick unsalted butter, softened
2 cups sugar
2 eggs
1 15 oz container whole milk ricotta cheese
3 tbsp lemon juice
zest of 1 lemon

Glaze Ingredients
1/2 cup powdered sugar
3 tbsp lemon juice
1 lemon zest

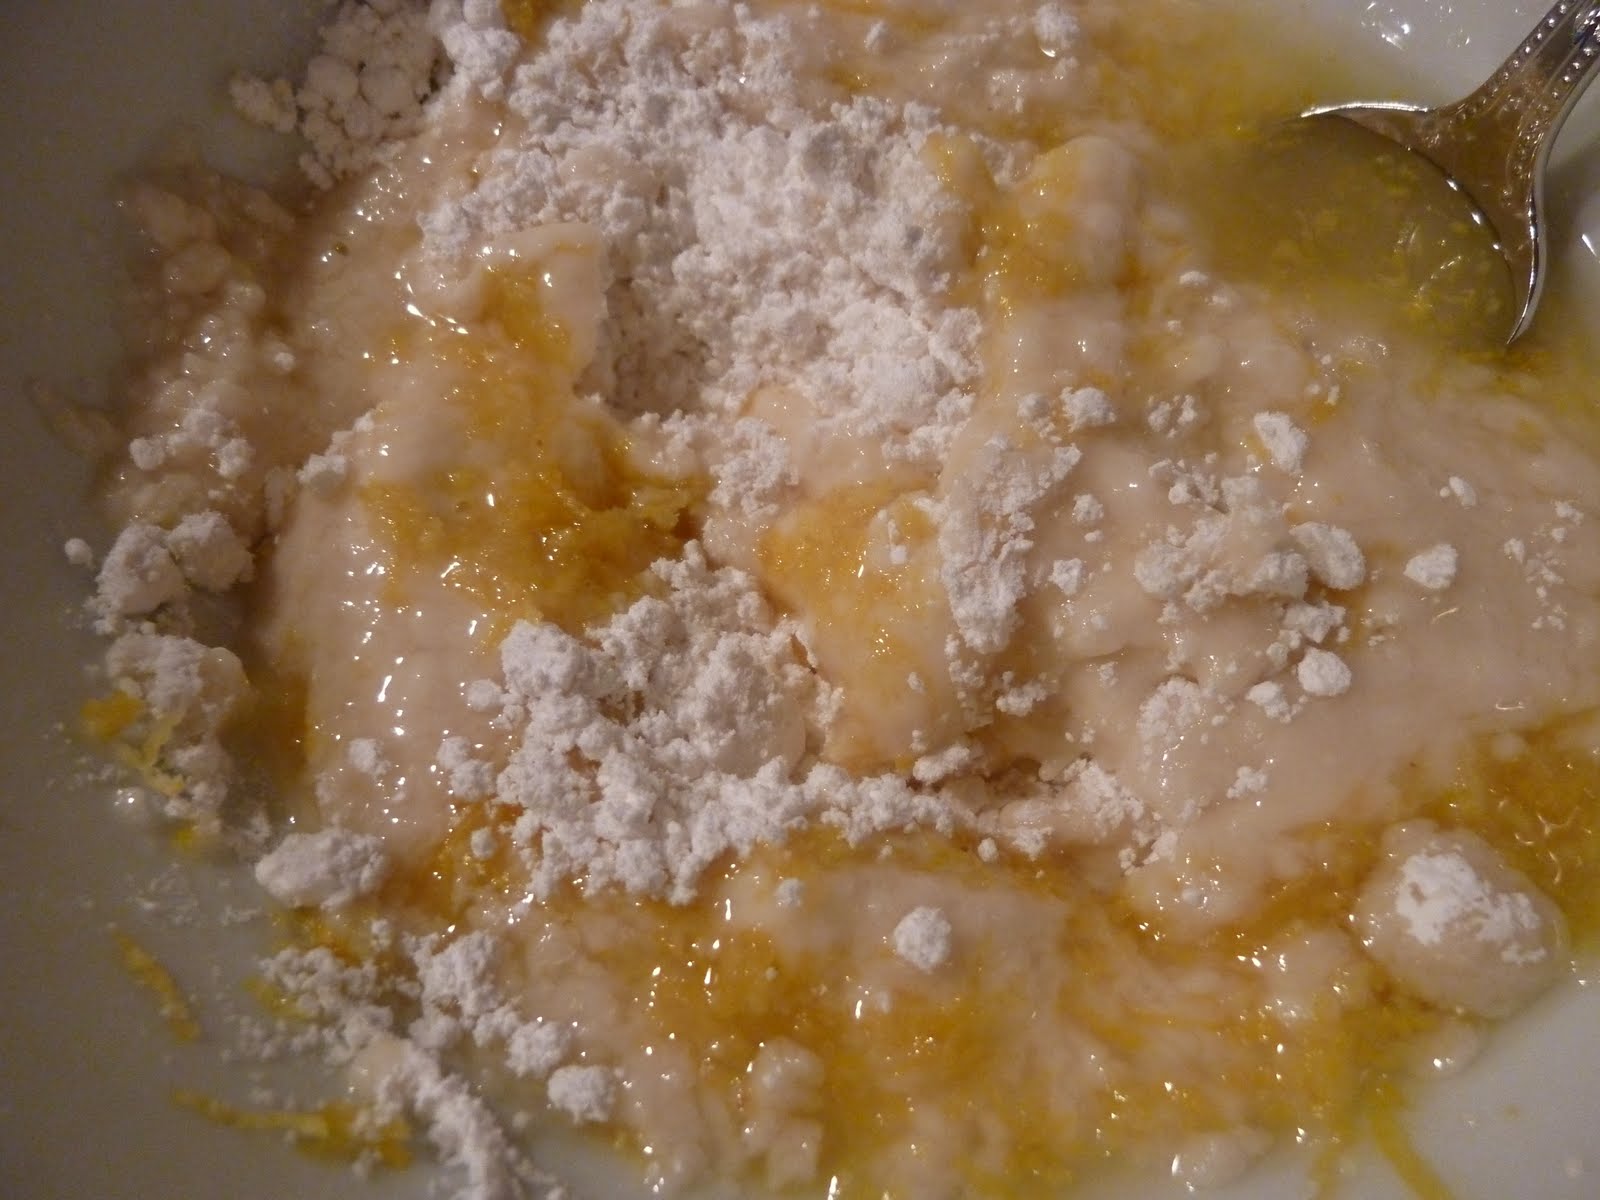
Start by preheating the oven to 375 degrees. In a bowl, combine the flour, baking powder, salt and set aside. In another bowl, combine the butter and sugar and beat with an electric mixer until light and fluffy, about 3 minutes. Add the eggs, one at a time and beat until well incorporated. Then, add the ricotta, lemon juice and zest and combine.

When combined, add in the dry ingredients. Line 2 baking sheets with parchment paper and spoon the dough on in 2 tbsp size portions. Bake for 15 minutes, remove and let cool for another 20 minutes.

Make the glaze by mixing the powdered sugar, lemon zest and juice until smooth. Spread about 1/2 tsp onto each cookie and let harden before enjoying!


Sunday, November 20, 2011

Goat and Gruyere Quiche

A couple of weeks ago, we had a few friends over for brunch. Besides the usual spread of bagels, lox and fruit, I felt there had to be something homemade on the table. (Especially since I have a cooking blog!) I decided it had to include some yummy cheeses so I could go harass the guy at my local market's cheese counter for samples! I decided a Gruyere and Goat cheese quiche with mixed vegetables would be unique and showcase all the yummy cheeses I bought! The quiche was a success and, so easy, it's now one of my brunch "musts."

Ingredients
2 tbsp unsalted butter
1 cup chopped yellow onions
1/4 lb mushrooms, sliced
1 bunch of asparagus, cut into chunks
1 tsp minced garlic
3 tbsp chopped fresh basil
2 tsp chopped fresh thyme
1/2 tsp salt
1/4 tsp fresh ground pepper
1 1/4 cups half-and-half
1/2 cup grated Gruyere
1/2 cup crumbled goat cheese
1/2 tsp crushed red pepper
3 large eggs
pre made pie crust

Start by preheating the oven to 375 degrees and chopping your vegetables.


Melt the butter in a skillet over medium-high heat and add the vegetables. Cook until the vegetables have wilted, about 8 minutes. Add the garlic and cook for another minute. Add the fresh herbs and season with salt and pepper. Remove from the heat and let cool.

In a bowl, beat together the eggs and half-and-half, then season lightly with salt and pepper. Add the Gruyere and crushed red pepper.

Spoon the cooked veggies into the pie crust.

Pour the liquid mixture over the veggies and crumble the goat cheese on top. Bake for 30 minutes, or until set.

If you plan on serving this the next day, just heat in the oven for 10 minutes at 350 degrees since it's best served warm!


Friday, November 18, 2011

My Favorite; Carrot Cake

I've always big a BIG fan of carrot cake, particularly because I love the frosting! (I've actually bought a slice just to lick off the frosting!) This week, I decided to take a break from baking the usual chocolate chip banana bread my husband lives for and try my hand at my favorite. My carrot cake came out really delicious and disappeared way faster than I could have imagined! Note, the recipe posted below is meant for a larger cake, which requires making, stacking and frosting three separate cakes to form a layered carrot cake. I modified the recipe and used 2/3 of all the ingredients to make a single, larger, cake.!

Cake Ingredients
Butter for greasing baking pan
2 cups all purpose flour
2 cups sugar
2 tsp baking soda
2 tsp cinnamon
1 tsp salt
4 eggs
1.5 cups vegetable oil
3 cups grated carrots
1 cup chopped pecans
4 rings canned pineapple, cut into chunks

Start by preheating the oven to 350 degrees and grease a 9 inch pan with some butter. In a large bowl, combine the flour, sugar, baking soda and salt

Blend all the ingredients with a handheld mixer.

Add the pineapple, carrots and pecans. Pour into a greased 9 inch pan and bake for 40-60 minutes or until browned on top. I say 40-60 minutes because everyone's oven is different and while the original recipe called for 40, mine required an hour. Some may need more time than others.
Frosting Ingredients
2 8oz packages of cream cheese, room temp
1 stick unsalted better
powdered sugar, to taste
1 tsp vanilla extract

To make the frosting, whip together all the ingredients in a bowl. I don't specify the amount of powdered sugar because the original recipe calls for what I think is way too much, plus, people have different palettes for sweetness. I'd mix the other ingredients together and then go adding one tbsp of sugar at a time until it reaches the level of sweetness you're comfortable with.

Once the cake has completely cooled, spread the frosting all over the cake.

You'll watch this cake disappear quickly, trust me! Mine did :)


Friday, November 11, 2011

A Dairy Free Pumpkin Pie

What thanksgiving dinner would be complete without a pumpkin pie? I made a really good pie that could be served alongside turkey, because it's a little more savory than the traditional dessert. In order to make this pie Parve for my kosher family, I used some dairy free coffee creamer. I've heard it's not the healthiest stuff on earth, but once in a while won't hurt! The result was a very tasty pumpkin pie that's a great alternative to the traditional version!


Ingredients
1 pre-baked 9 inch pie crust
2 eggs
1/2 cup brown sugar
1 1/2 tsp cinnamon
1/4 tsp powdered ginger
1/4 tsp ground nutmeg
1/4 tsp salt
1 3/4 cup mashed cooked pumpkin
1 cup non-dairy coffee creamer

Start by cracking the eggs into a bowl.

Whisk until frothy. I used a hand held electrical mixer to make life easier.

Beat in the sugar, then spices and salt followed by the pumpkin and creamer. Mix until well blended.

Pour mixture into the pie shell and bake at 450 degrees for 10 minutes, then lower the temperature to 350 degrees and bake another 30-35 minutes, or until the pie has set. Remove from the oven and let cool before serving.


Sunday, November 6, 2011

Stuffin' Muffins

I can't believe the holiday season is upon us again! I really love the holidays... lots of time spent with family and lots of good food! Thanksgiving is one of my favorite holidays and I usually end up stuffing my face until I can't stuff it anymore. Last year I flew down to Puerto Rico to feast and have fun with my family, but this year we'll spend Thanksgiving in New York at my aunt's house. I, of course, offered to make a couple dishes, so look for some Turkey Day recipes to appear between now and then! This recipe is for some muffins made out of stuffing. They were really yummy and something different to do with your traditional stuffing!

Ingredients
2 tbsp olive oil
1 stick butter (or equivalent of earth balance for dairy free alternative)
1 bay leaf
4 celery ribs and leaves, chopped
1 large yellow onion, chopped
salt and pepper
3 apples, chopped
2 tbsp poultry seasoning
8 cups cubed stuffing mix
2 to 3 cups vegetable broth
1/4 cup chopped fresh parsley leaves

Start by preheating the oven to 375 degrees. In a pan, heat the olive oil and butter over medium heat and toss in the bay leaf, celery, onions and apples. Sprinkle with salt, pepper and poultry seasoning.

Cook 5 minutes to soften then add parsley and stuffing cubes.Moisten with the broth until the stuffing is moist, not wet.

Butter 12 muffin tins and scoop the stuffing mix into each. Be sure to remove the bay leaf before doing so or one of your diners won't be too happy! Bake for about 15 minutes, or until muffins set and crisp on top. Remove and serve hot or at room temp for best results!


Friday, November 4, 2011

Baby Food Making 101

Don't worry, just because I recently had twins, doesn't mean this blog is about to only feature mashed up baby food recipes! However, I thought I'd dedicate a post to Baby Food Introduction and Making 101, in case there are any new and confused parents out there who are looking for some helpful hints the way I was!

In general, infants are ready to begin their foray into solids somewhere between 4 and 6 months of age. Our pediatrician ok-ed them once they were able to hold their heads up on their own and showed increased interest in watching us eat and drink. (aka they tried to grab my glass out of my hand as it made its way to my mouth!) Around 6 months is also when the tongue thrust reflex starts to disappear, a reflex which causes the tongue to push out objects placed in the mouth to prevent choking.

The first foods ("Stage 1") for babies need to be soft, thin, strained and puree... similar in texture to breastmilk or formula. You'll know it's the right consistency if you turn the spoon upside down and it drips off. Some of the most popular Stage 1 foods include rice cereal, bananas, sweet potatoes and avocados! I don't know if this is necessarily true, but I've read that it's best not to start off with fruit, because then your child's palate will prefer sweet foods. For me, sweet potatoes seemed like the perfect choice. They were sweet, though not as sweet as fruit, and have tons of flavonoids like beta-carotene and vitamin A!

If you're going to try and make your own baby food, it's best to make it in bulk and freeze it in large batches using the ice cube tray method, which I found extremely easy and resourceful! Here's how I made my girls' first meal:

Start by buying some fresh, organic if available, sweet potatoes, butternut squash or yams in your local supermarket or farmer's market.

Wash and scrub the sweet potatoes well, prick with a fork, wrap in aluminum foil and stick in the oven at 375 degrees for 45-60 minutes, or until the sweet potatoes are very soft. Let them cool.

Scrape out the flesh and toss into a food processor. Make sure the equipment has been washed well to prevent contaminating the food with any bacteria.

Puree well and add either water, breastmilk or formula to thin out the sweet potatoes. Seeing as how I was already giving my girls formula, I thought adding formula to the puree would not only give it a familiar taste, but provide some extra nutrition! Make sure there are absolutely no chunks in the puree, since new eaters may choke. The puree should be served warm. Make sure there are no heat pockets that will burn your babies' sensitive mouth.

To save all the food, I used the ice cube tray method which involved pouring the puree into an ice cube tray (wrap it in saran wrap to prevent freezer burn) and leaving it there until completely frozen. Once frozen, remove all the cubes (to get them out, flip the tray upside down and run some warm water over the bottom to loosen the cubes) and placed them in a freezer bag.... make sure it's a freezer bag and not a sandwich bag. Lastly, make sure to label the bag with the type of food (since orange cubes can get mistakes for several things) and the date made so you know when it's time to toss it (usually 2-3 months after making it.)

In the very beginning, solids should not replace bottles or breast milk. After offering the normal feeding, then offer an ounce or two of solids so that your child can experiment with textures and flavors, and basically learn how to swallow their food.

Your babies might love solids and grab the spoon to feed themselves, like mine did, or they might push the food out of their mouths. If they do that, don't be discouraged, sometimes it takes a while for them to get used to it. If your child turns their head when you offer the spoon or close their mouths, don't force it on them. If they don't want to eat, wait a few days and try again! Eating is a learning process and before you know it they'll be eating entire meals!


Saturday, October 29, 2011

Chicken Apple Burgers

Every year, when their apple orchard yields tons of tart crunchy apples, my in-laws host an apple fest at their East Hampton home. Every couple is responsible for creating one delicious dish that features apples as the key ingredient. Since we have some great bakers in the family, it's become a habit for me to always make savory dishes. This year was no different as I took on the challenge of making chicken apple burgers. Everyone was pretty impressed with the burgers which I topped with a sweet maple sauce, especially myself who ended eating three!

Burger Ingredients
1 lb ground chicken
2 apples, peeled, cored and diced
2 large garlic cloves, diced
1/4 cup diced celery
1/4 cup diced onion
2 tbsp fresh thyme, chopped
2 tbsp maple syrup
1 egg, beaten
1/4 cup Panko bread crumbs
3 tbsp olive oil
1 tbsp butter
salt and pepper

Maple Sauce Ingredients
  • 1/4 cup mayonnaise
  • 2 tablespoons real maple syrup
  • 1 tablespoon Dijon mustard

Start by dicing the apples, onion, celery and garlic. Remove the thyme leaves from their stems and chop finely. Cook all ingredients in a pan over medium heat with a tbsp of butter and a tbsp of olive oil until softened.

While the vegetables cool, make the creamy maple sauce to drizzle over the burgers by combining the mayo, mustard and maple syrup. This sauce might be one of the yummiest I've ever made... and so simple too!

When the vegetables have cooled, mix them with the ground chicken then add the maple syrup, egg and panko crumbs. Season with salt and pepper and mix well. Scoop into patties using 1/4 cup portions.

Heat a grill pan with 2 tbsp of olive oil over medium high heat and place the patties on the grill. Cook about 2-3 minutes on each side, or until the patties are no longer raw in the middle.

Top patties with maple sauce and, if you have some left over ingredients, make an apple slaw by tossing together some sliced apples with a little bit of thyme, celery and onion! The slaw ingredients will tie in nicely with the burger's flavors! This meal is great for those who are lactose intolerant, just leave out the bit of butter and replace with some more olive oil!